Purple Elephant UK
Freedom, Geopolitics, Health, and more
By: Graham Gambier
Date: 7 August 2014
How to install an Epson SX425W WiFi 4-in-1 under Ubuntu
Keywords: Ubuntu, Newbie, Linux, Epson, SX425W, Step-by-step, WiFi, 4-in-1, Install, Drivers, Scanner, Printer, sane, Iscan, Configure, Edit, Terminal, IP address, DHCP, Could not send command to scanner check the scanner status, dependency is not satisfiable: iscan-data,Overview:
- Install Epson Linux printer drivers
- Configure printer
- Install Epson Linux scanner drivers
- Edit /etc/sane.d/epkowa.conf to add printer IP address
- Edit /etc/sane.d/dll.conf to disable epson2
Install Epson Linux printer drivers
Find the Linux drivers at the following link:http://download.ebz.epson.net/dsc/se...search/?OSC=LX
 |
| Fig. 1 Epson Driver Download Printer Selector |
Enter SX425W in the dialogue box.
Ensure that 'Operation System' is set to Linux.
Download drivers in the following order:
- ESC/P Driver (full feature)
- ESC/P-R Driver (generic driver)
 | |
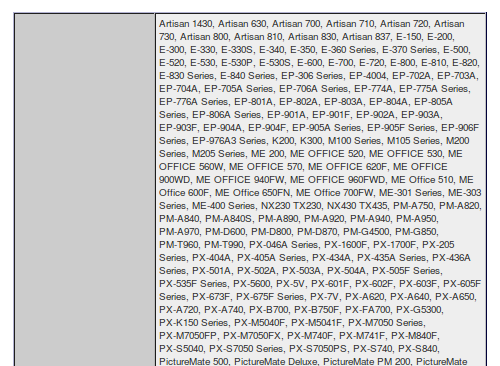
| Fig. 2 - Epson Printer Driver Selector |
For the ESC/P Driver (full feature):
Click the Download button.Accept the licence agreement
 | |
| Fig. 3 - Epson Printer Driver License Acceptance |
.
NOTE: Ubuntu is based on Debain so you must select the .deb form of the download files.
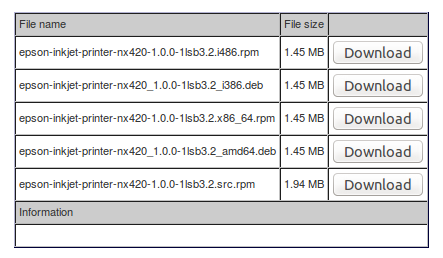 | |
| Fig. 4 Epson Printer Driver File Selector |
Select the .deb package appropriate to your system and click the 'Download' button i.e.
- epson-inkjet-printer-nx420_1.0.0-1lsb3.2_i386.deb (For Intel systems)
- epson-inkjet-printer-nx420_1.0.0-1lsb3.2_amd64.deb (For AMD systems)
At the Firefox download dialogue box select:
Open with /usr/bin/software-center (default)
 | |
| Fig. 5 - Firefox Download Destination Selector |
.
The Ubuntu Software Center should now open and the installation should go ahead successfully.
 | |
| Fig. 6 - Ubuntu Software Center Installation Success |
For the ESC/P-R Driver (generic driver)
Click the Download button. (See Fig. 2 above)Scroll down to the bottom of the list of printer models and accept the licence agreement.
-----
 |
| Fig. 7 - Epson Printer Driver License Acceptance |
.
Select the .deb download appropriate to your system i.e.
- epson-inkjet-printer-escpr_1.4.1-1lsb3.2_i386.deb (For Intel systems)
- epson-inkjet-printer-escpr_1.4.1-1lsb3.2_amd64.deb (For AMD systems)
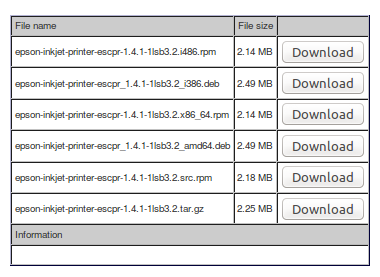 |
| Fig. 8 - Epson Printer Driver File Selector |
.
At the Firefox download dialogue box select:
Open with /usr/bin/software-center (default)
 |
| Fig. 9 - Firefox Download Destination Selector |
.
The Ubuntu Software Center should now open and the installation should go ahead successfully. (See Fig. 6 above)
Configure printer
Click the 'System Settings' button on the launcher.
r
Click 'Printers'.

Click 'Add'. (NOTE: Your screen will not show the EPSON-Epson-Stylus-SX420W icon shown in Fig. 10 below because my printer is already installed and yours isn't yet.)
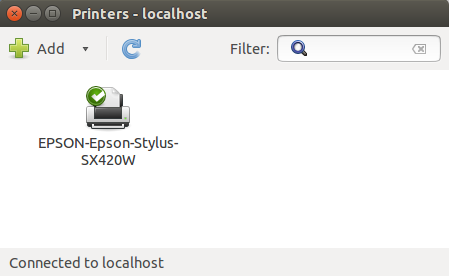 |
| Fig. 10 - Printers Dialogue |
Select 'Network Printer'.
(Wait a few Minutes until the system discovers the printer and displays it under 'Network Printer'.)
Select 'Epson Stylus SX420W (*192.168.1.31*)'.
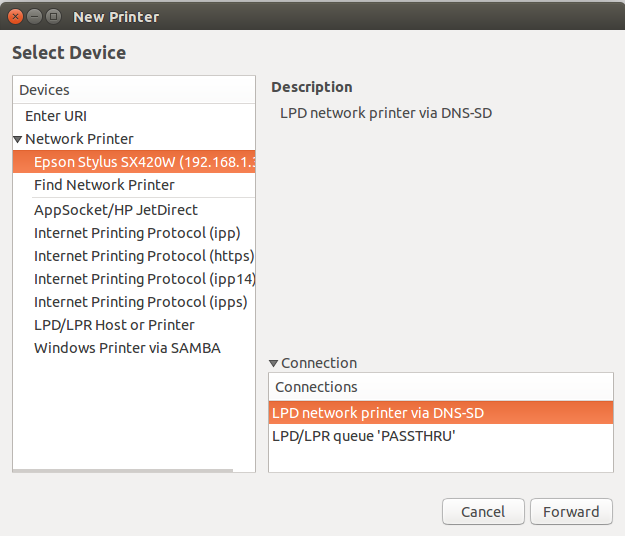 |
| Fig. 11 - Printers Device Selector. |
NOTE: You may need to use the horizontal scroll bar at the bottom of the 'Devices' box to read the last digits
Press 'Forward' and keep going until the printer installation is complete.
Install Epson Linux scanner drivers
From the driver selector shown in Fig. 2 above, download scanner drivers in the following order:- core package&data package
- network plugin package
For the core package&data package:
Click the Download button.Accept the licence agreement as per Fig. 7 above.
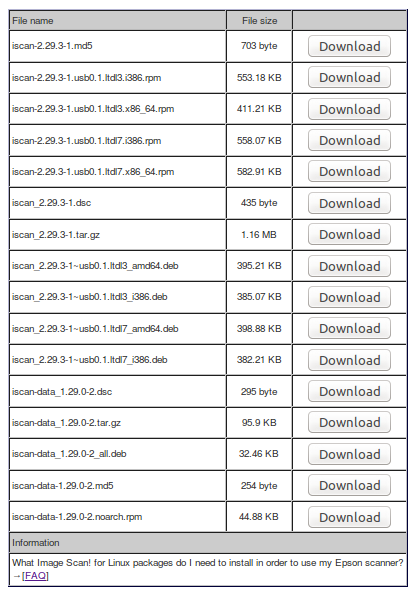 |
| Fig. 12 - Epson Scanner Driver Package Selector |
Install the following packages in the following order by clicking their 'Download' Button:
- iscan-data_1.29.0-2_all.deb
- iscan_2.29.3-1~usb0.1.ltdl7_amd64.deb
At the Firefox download dialogue box select:
Open with /usr/bin/software-center (default) (AS per Fig. 5 above.)
The Ubuntu Software Center should open and the installation should go ahead successfully. (AS per Fig. 6 above.)
NOTE: If the Ubuntu Software Center gives the following: dependency is not satisfiable: iscan-data', it is likely you have not installed the
iscan-data_1.29.0-2_all.deb package first.
For the network plugin package:
Click the Download button as per Fig. 2 above.Accept the licence agreement as per Fig. 7 above.
At the Firefox download dialogue box select:
Open with /usr/bin/software-center (default) (AS per Fig. 5 above.)
The Ubuntu Software Center should now open and the installation should go ahead successfully. (AS per Fig. 6 above.)
Edit /etc/sane.d/epkowa.conf to add printer IP address
Click the 'Resource Locator' button.
Type 'terminal' into the text box (NOTE: Your screen may look different to mine)
 |
| Fig. 13 - Resource Locator Screen |
Click the 'Terminal' icon

In the terminal screen type:
sudoedit /etc/sane.d/epkowa.conf
NOTE 1: You can copy and paste the above.
NOTE 2: In terminal you must use the mouse to paste, <ctrl V> will not work.
NOTE 3: Your prompt will be your user name and machine name, not mine.
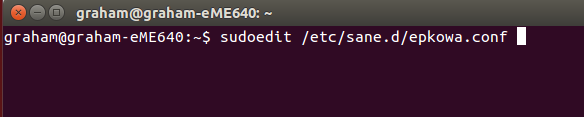 |
| Fig. 14 - Terminal Screen Showing sudoedit epkowa Command |
 |
| Fig. 15 - Terminal Screen Showing Password Entry |
Type your password
(NOTE: Nothing will appear on the screen as you type)
(NOTE: your user name will appear instead of 'graham'.)
Press 'Enter'.
The epkowa file will open for editing:
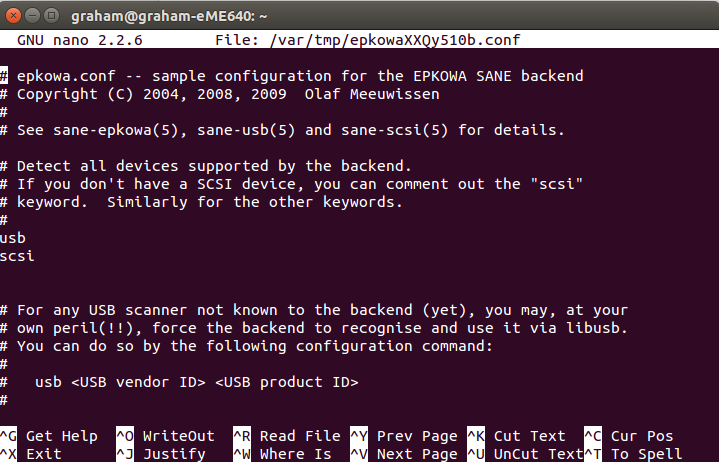 |
| Fig. 16 - epkowa File Open for Editing |
 |
| Fig. 17 - End of epkowa File |
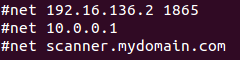 |
| Fig. 18 - epkowa net IP Section |
Under the last line of the #net section of the file, add the line:
net <your printer IP address as noted above>
e.g. net 192.168.1.39
NOTE: Ensure that you do not place # in front as that makes the line a comment.
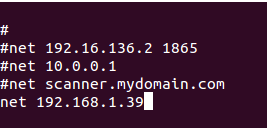 |
| Fig. 19 - epkowa net IP Section With New Line |
 |
| Fig. 20 - epkowa Exit Edit |
Press y to 'Save modified buffer'
 |
| Fig. 21 - epkowa 'File Name to Write: |
Press 'Enter' to write the file.
Edit /etc/sane.d/dll.conf to disable epson2
In the terminal screen type:sudoedit /etc/sane.d/dll.conf
NOTE 1: You can copy and paste the above.
NOTE 2: In terminal you must use the mouse to paste, <ctrl V> will not work.
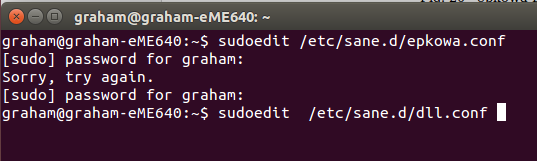 |
| Fig. 22 - Terminal Screen Showing sudoedit sane.d/dll.conf Command |
 |
| Fig. 23 - Terminal Screen Showing Password Entry |
(NOTE: Nothing will appear on the screen as you type)
(NOTE: your user name will appear instead of 'graham'.)
Press 'Enter'
The 'sane dll conf' file will open for editing.
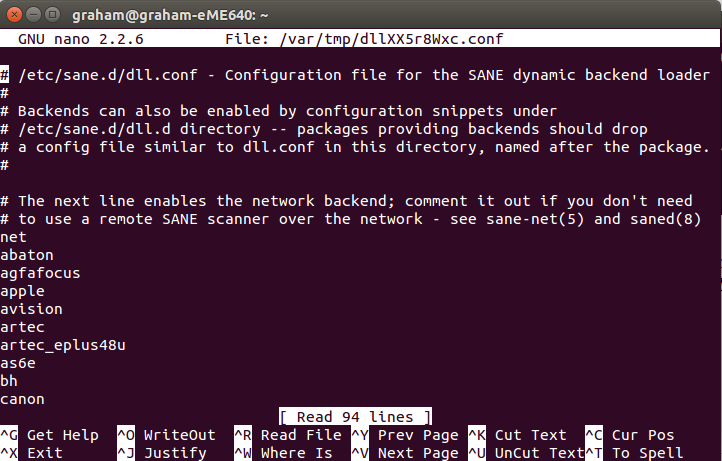 |
| Fig. 24 - 'sane dll conf' File Open for Editing |
Type epson2
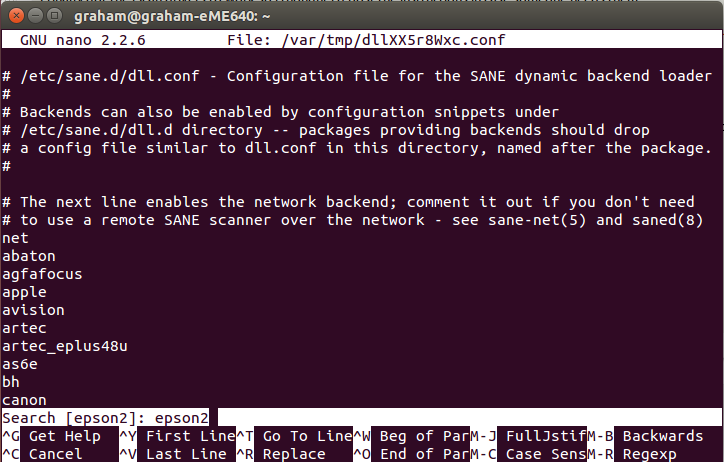 |
| Fig. 25 - Finding 'epson2' in sane dll conf |
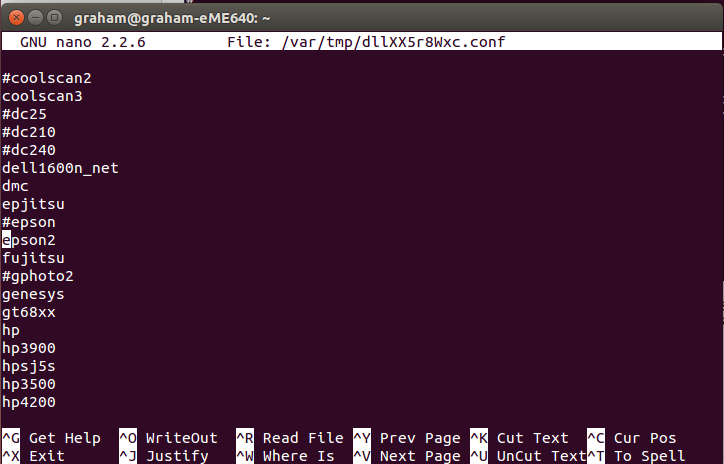 |
| Fig. 26 - 'epson2' Found |

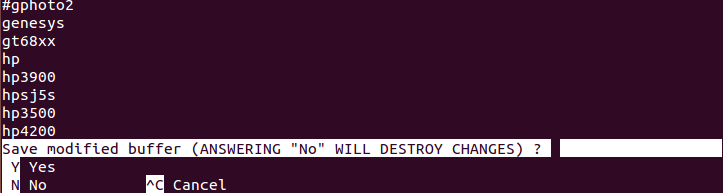
Press <ctrl X> to exit the file.
 |
| Fig. 27 - sane dll conf Exit Edit |
Type y to 'Save modified buffer'
 | |||||||||||||
| Fig. 28 - sane dll conf 'File Name to Write: |
Press 'Enter' to close the file.
Test the scanner
Click the 'Resource Finder' button.Type 'scanner' into the text box (NOTE: Your screen may look different to mine)
 |
| Fig. 29 - Resource Locator Screen |
Click the 'Image Scan! for Linux' icon.

If all has gone well the 'Image Scan! for Linux' screen will appear:
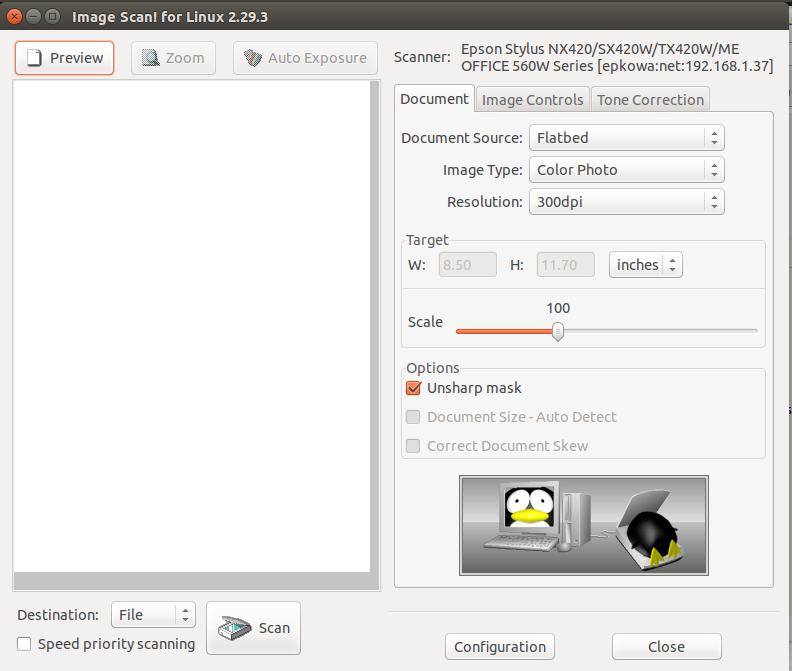 |
| Fig. 30 - 'Image scan! for Linux' Screen |
Test your scanner by scanning something!
IMPORTANT NOTE:
If your router is set for Dynamic Host Configuration Protocol (DHCP ), every time your devices power up they may get a new IP addresses. If this happens your printer will still work, because of automatic device discovery, but your scanner will not work and you will get the following:
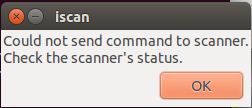 |
| Fig. 31 - Iscan failure dialogue |
If this happens, determine your printer's new IP address as in Fig. 11 above and edit the epkowa file, as in Fig. 19 above, with the new address.
No comments:
Post a Comment